> For the complete documentation index, see [llms.txt](https://help.getcustomeriq.com/llms.txt). Markdown versions of documentation pages are available by appending `.md` to page URLs; this page is available as [Markdown](https://help.getcustomeriq.com/data-guides/other-integrations/zapier.md).
# Zapier
How to send data from any app to CustomerIQ folders using Zapier
In this guide we'll discuss how to use CustomerIQ's Zapier integration to send data from over 5,000 applications to any folder in CustomerIQ.
### Step 1: Join the CustomerIQ Zapier Integration Beta
Follow this link to get access to the integration:
### Step 2: Create a Zap
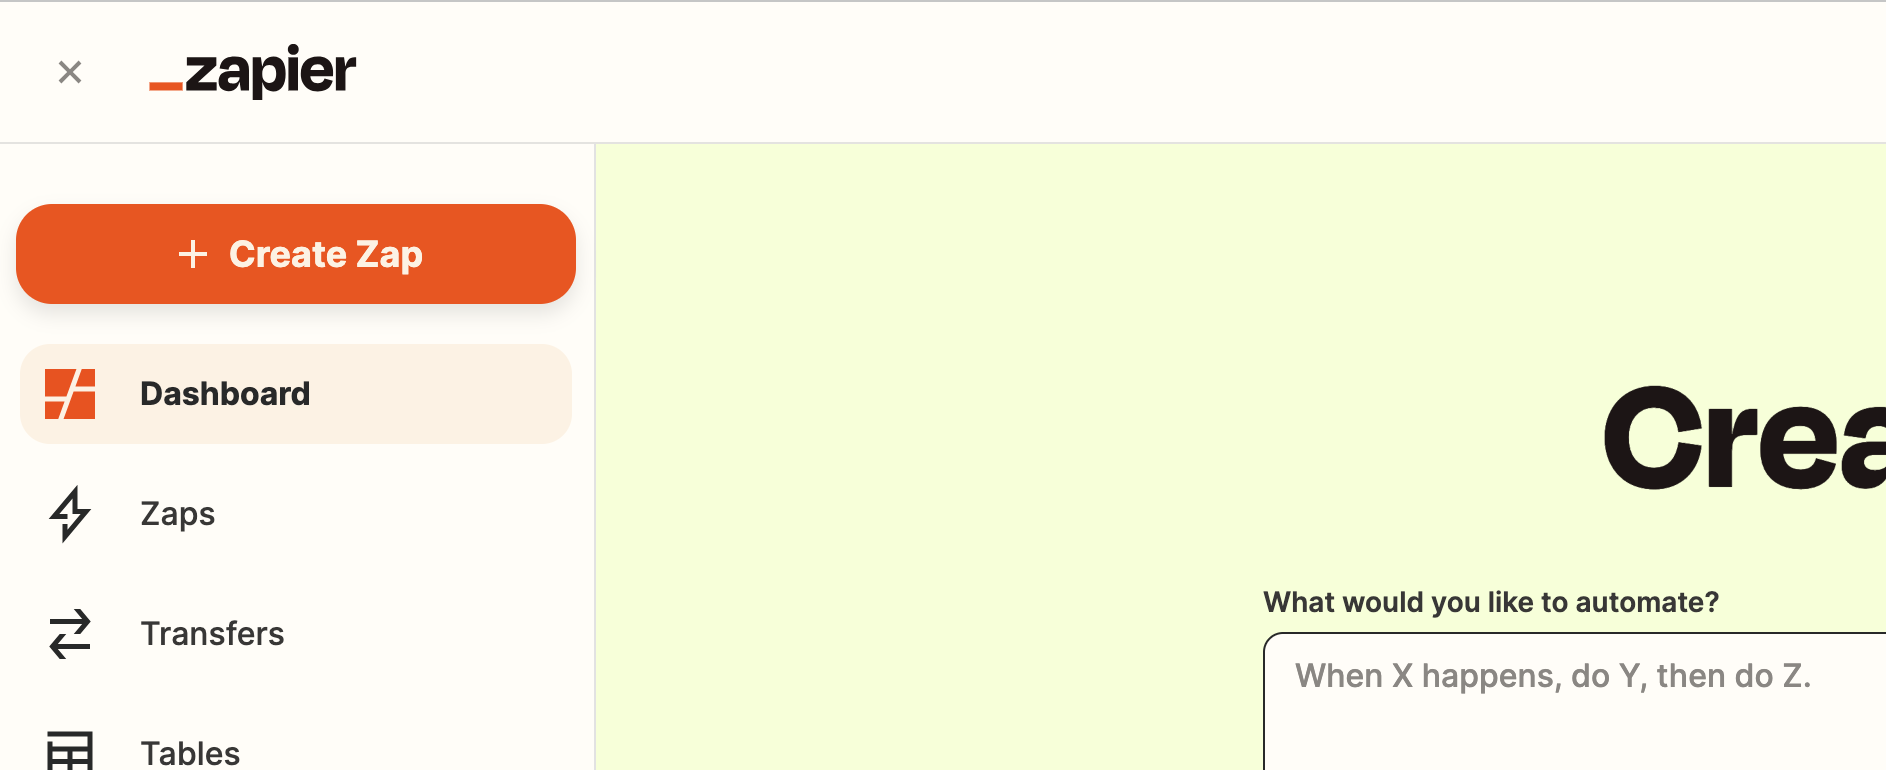
From your Zapier dashboard, click Create a Zap
### Step 3: Select your application as the Trigger
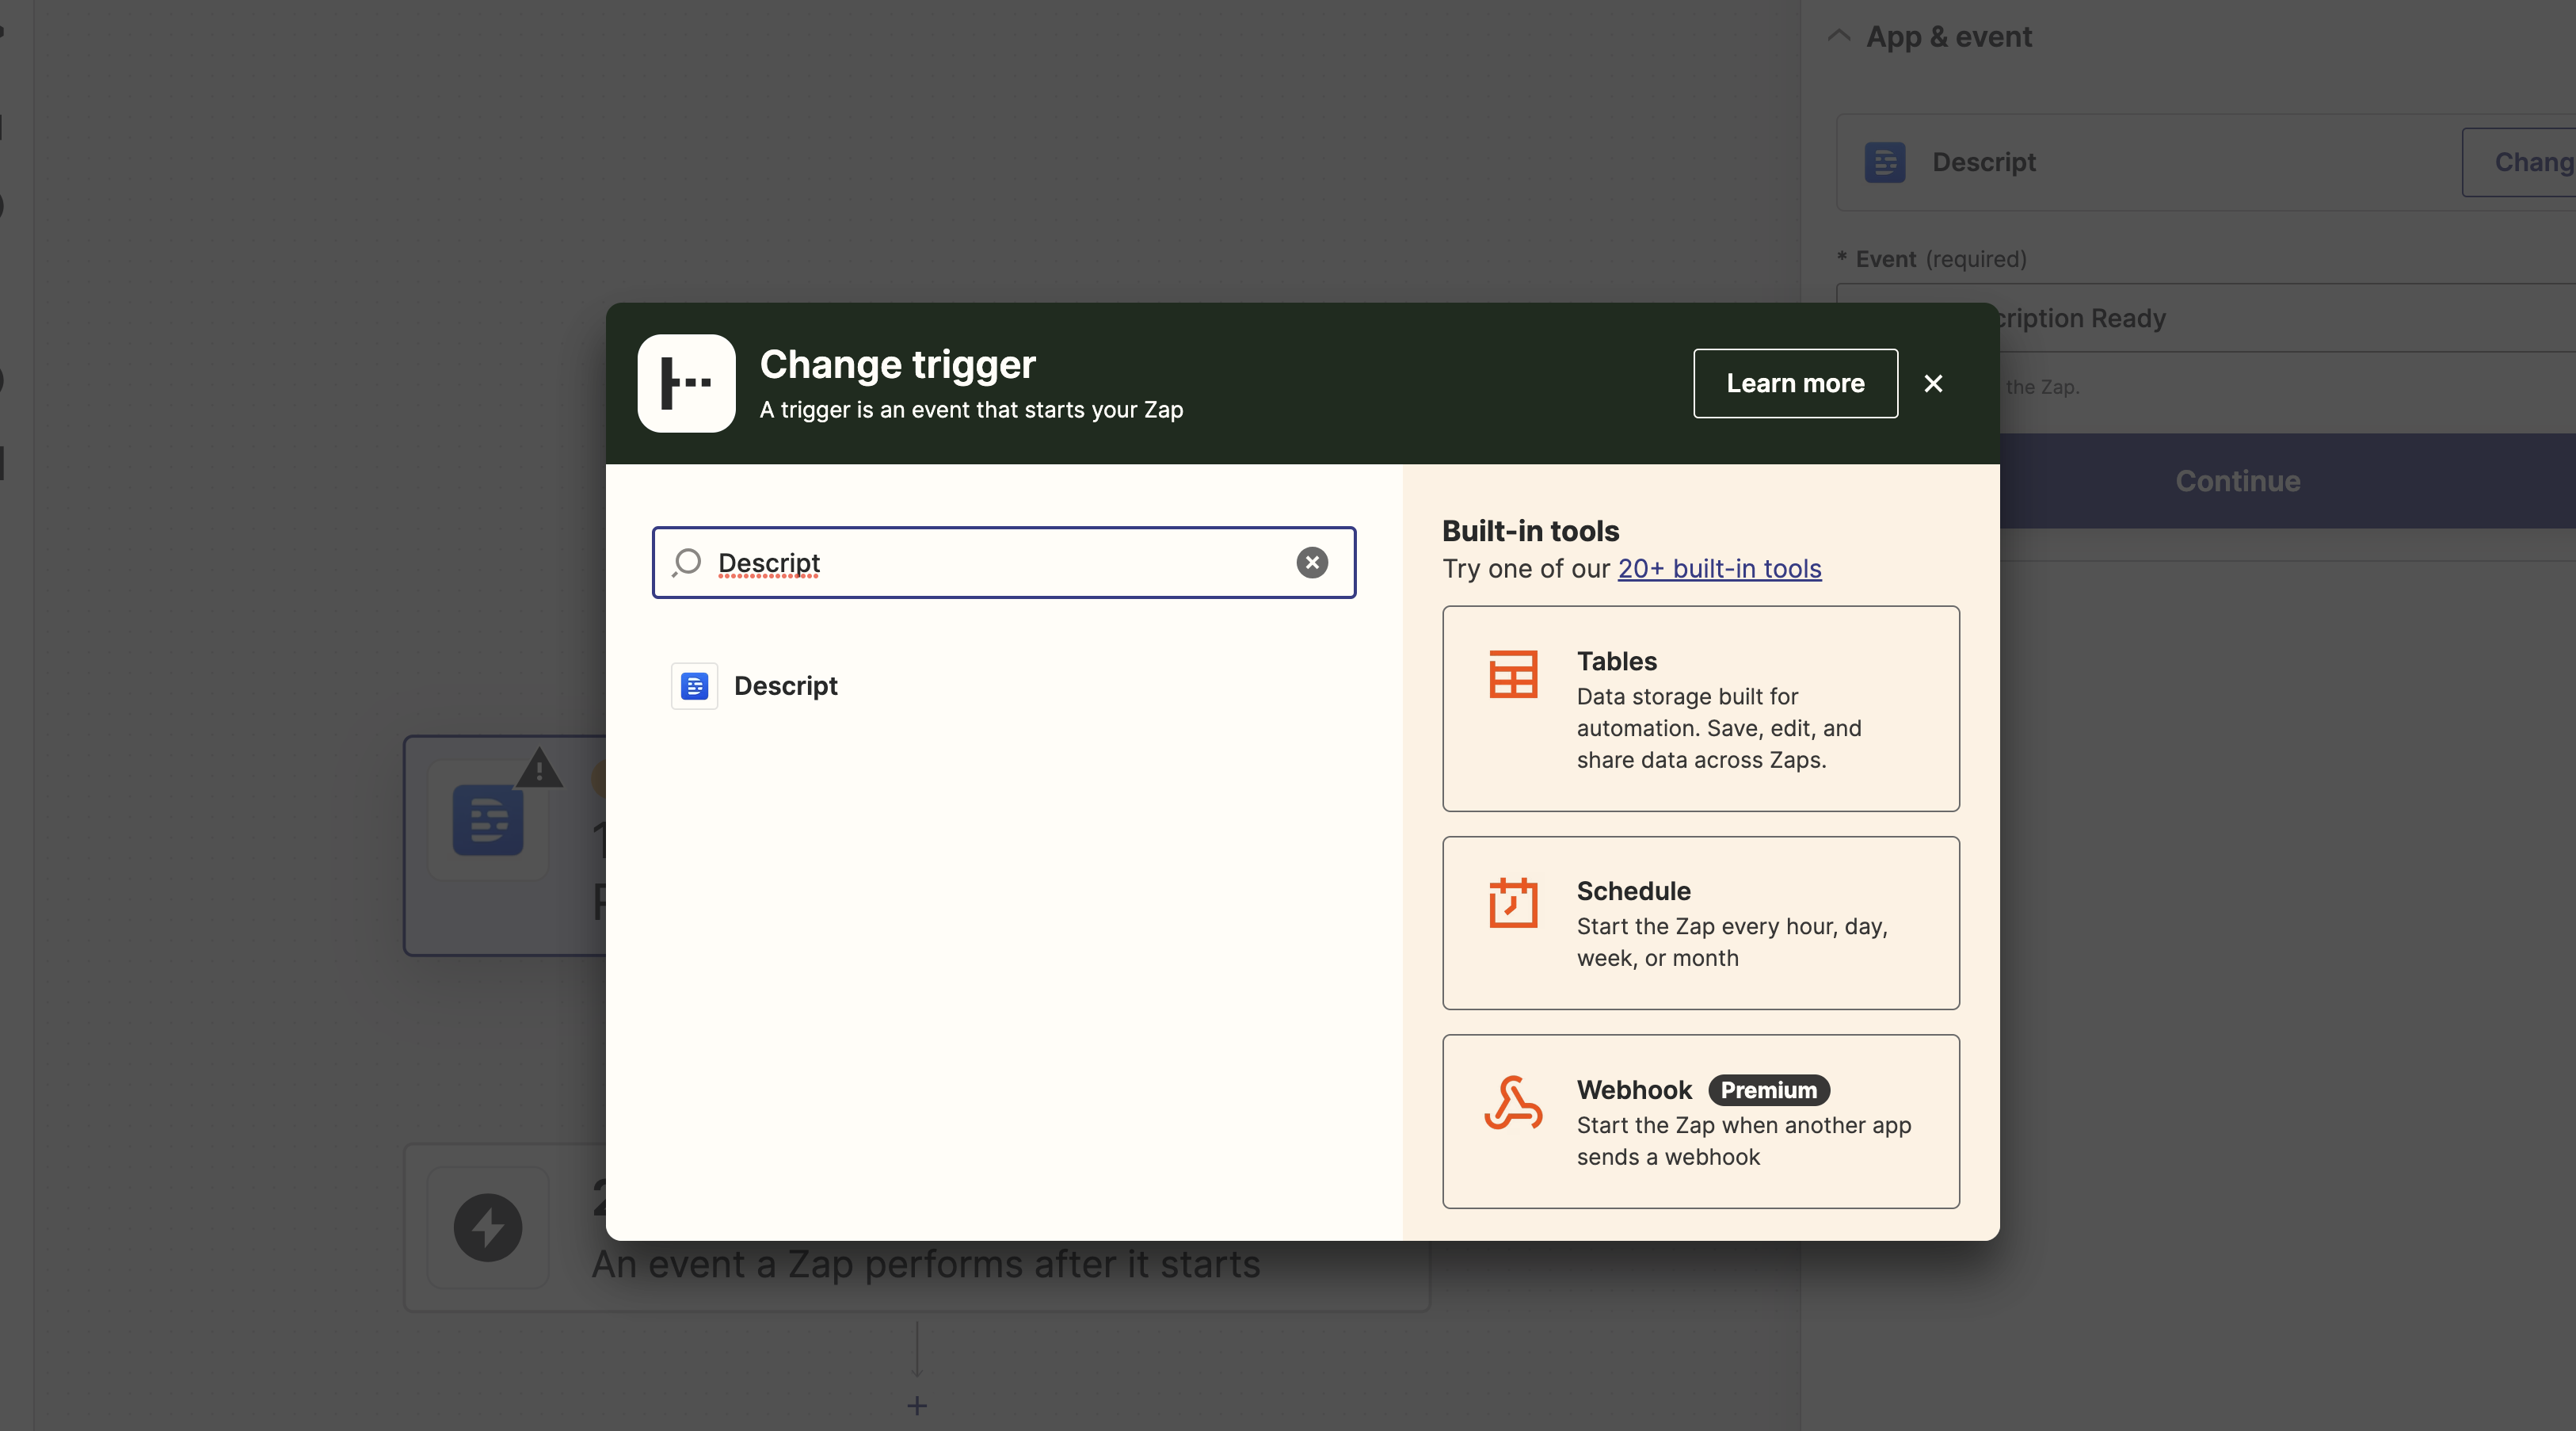
Click on the trigger option and search for the app you want to connect.
Select the event you want to trigger a submission to CustomerIQ
Authenticate with the application and continue to the action step.
### Step 4: Search CustomerIQ as the action
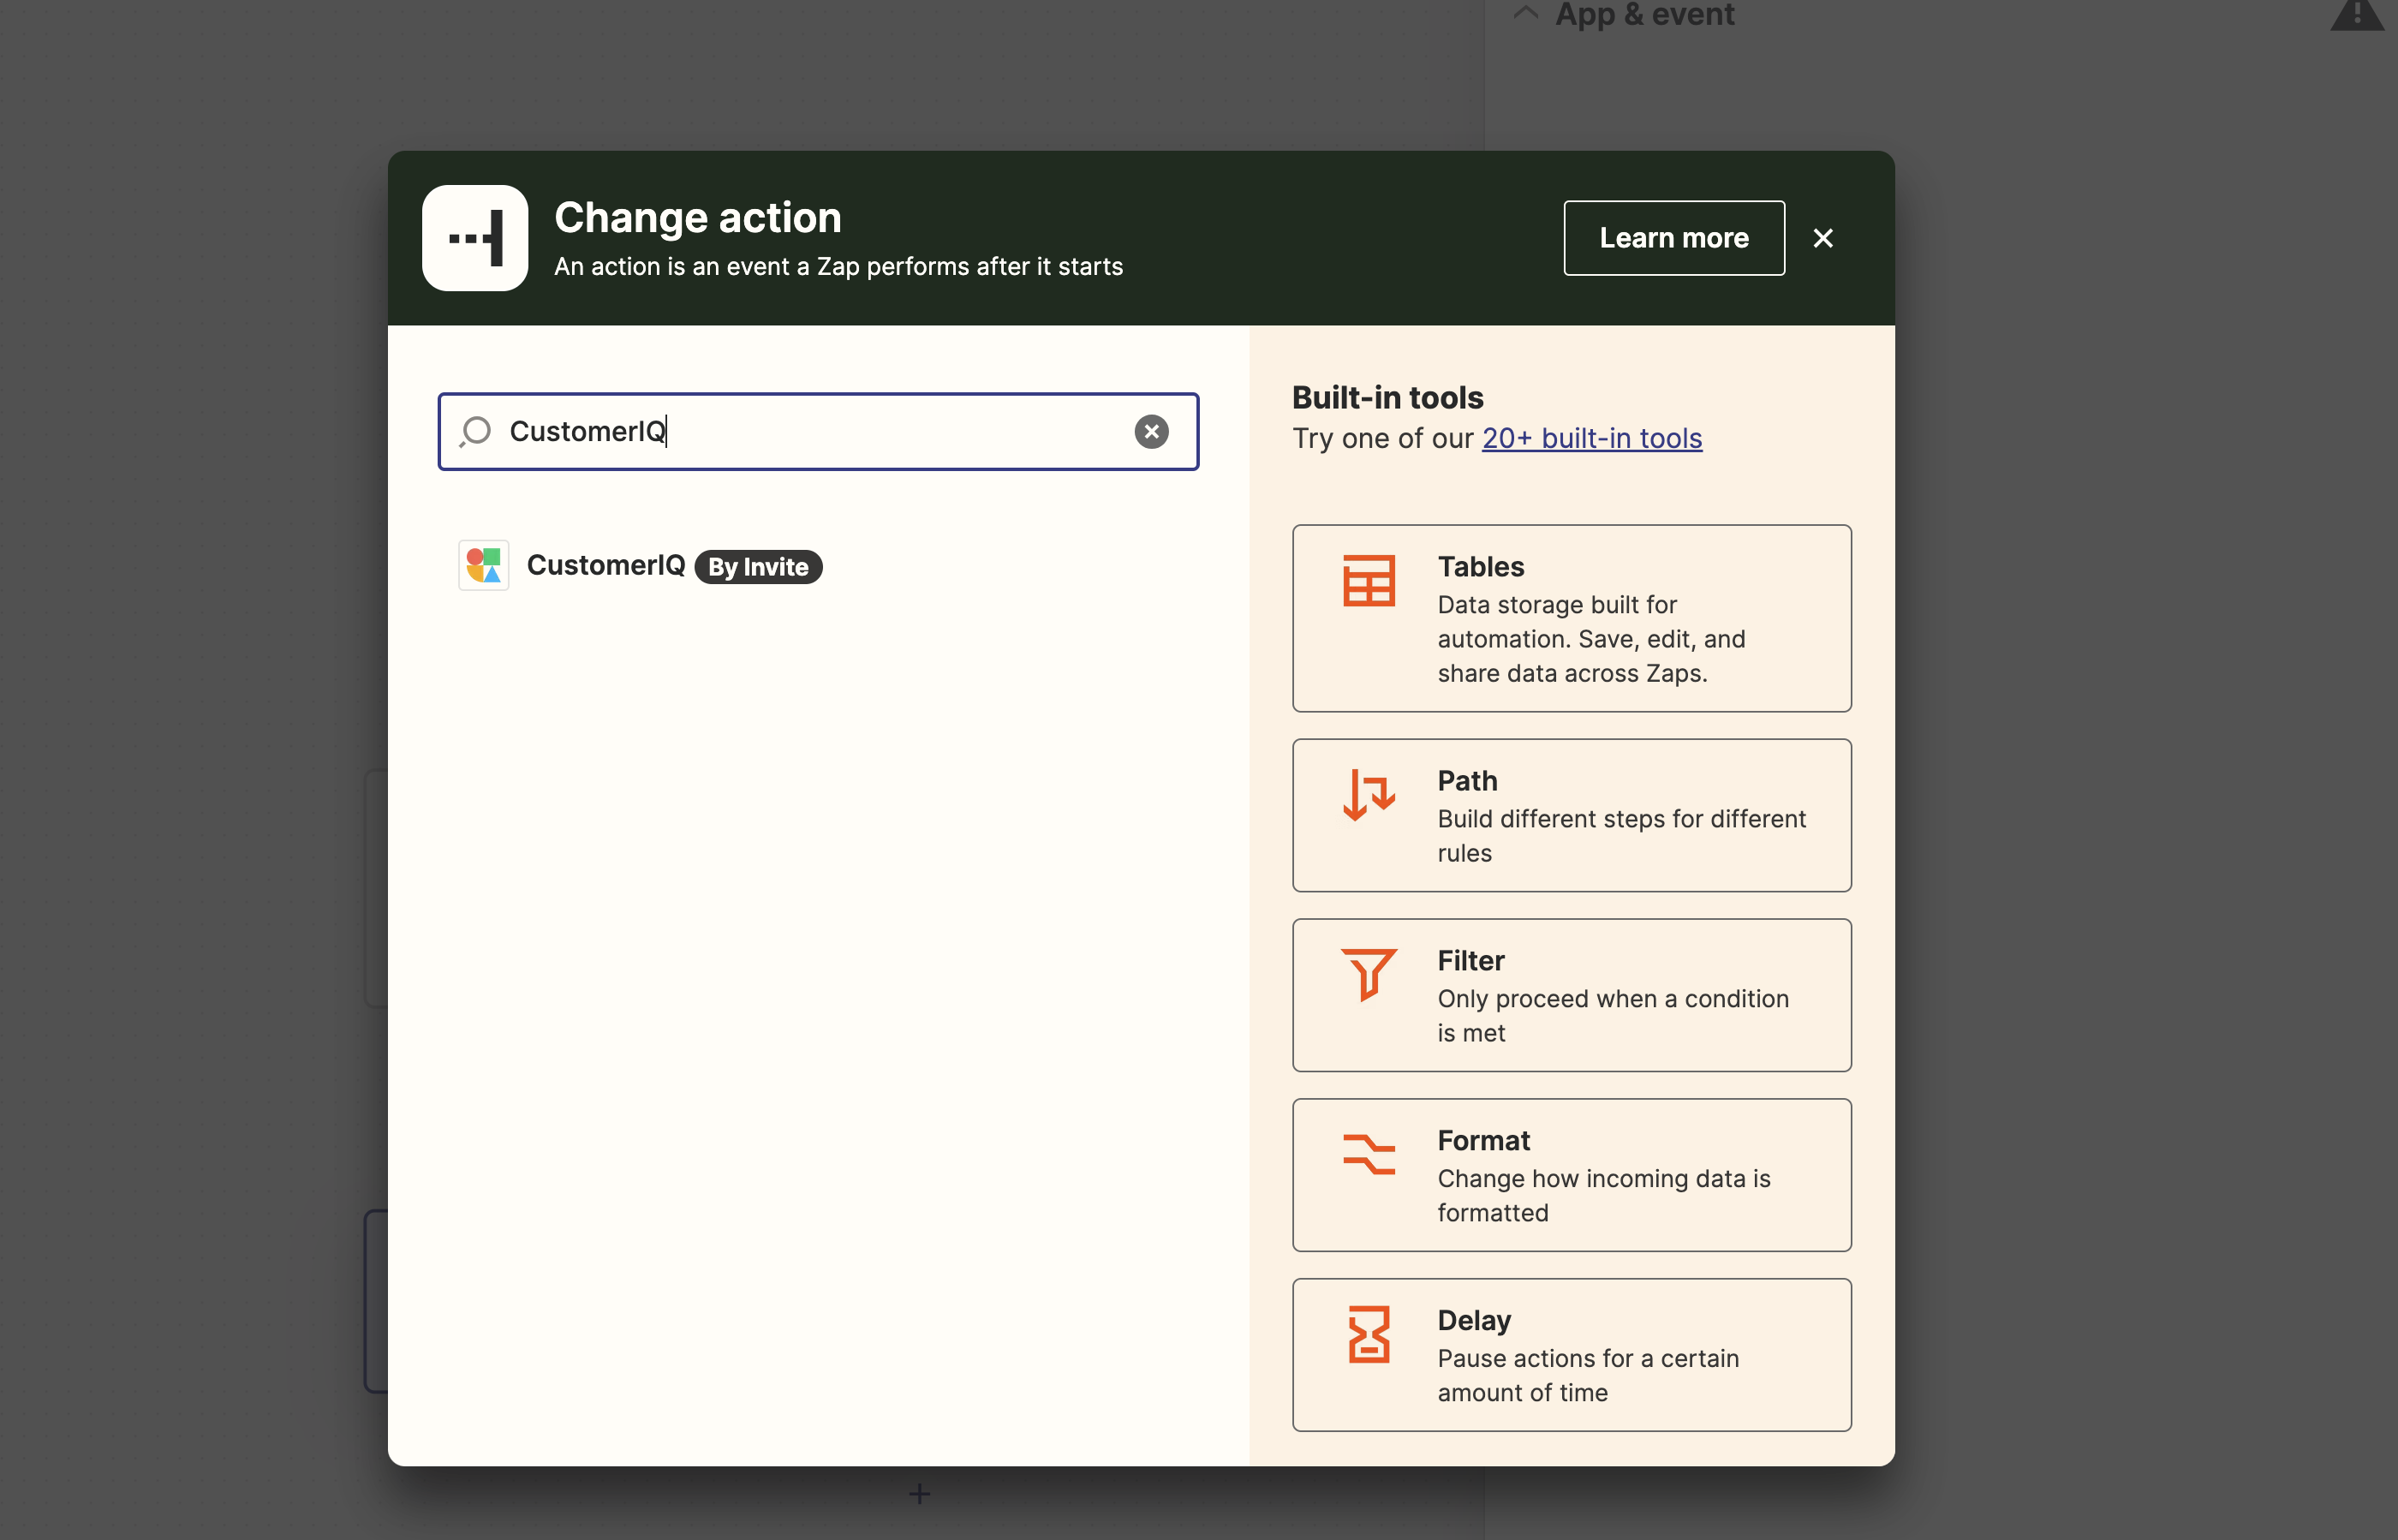
Search for CustomerIQ as the action. If you joined the beta invite (above) you should see it with a "By Invite" tag.
Choose the events: Create a folder submission
### Step 5: Get your CustomerIQ API Key
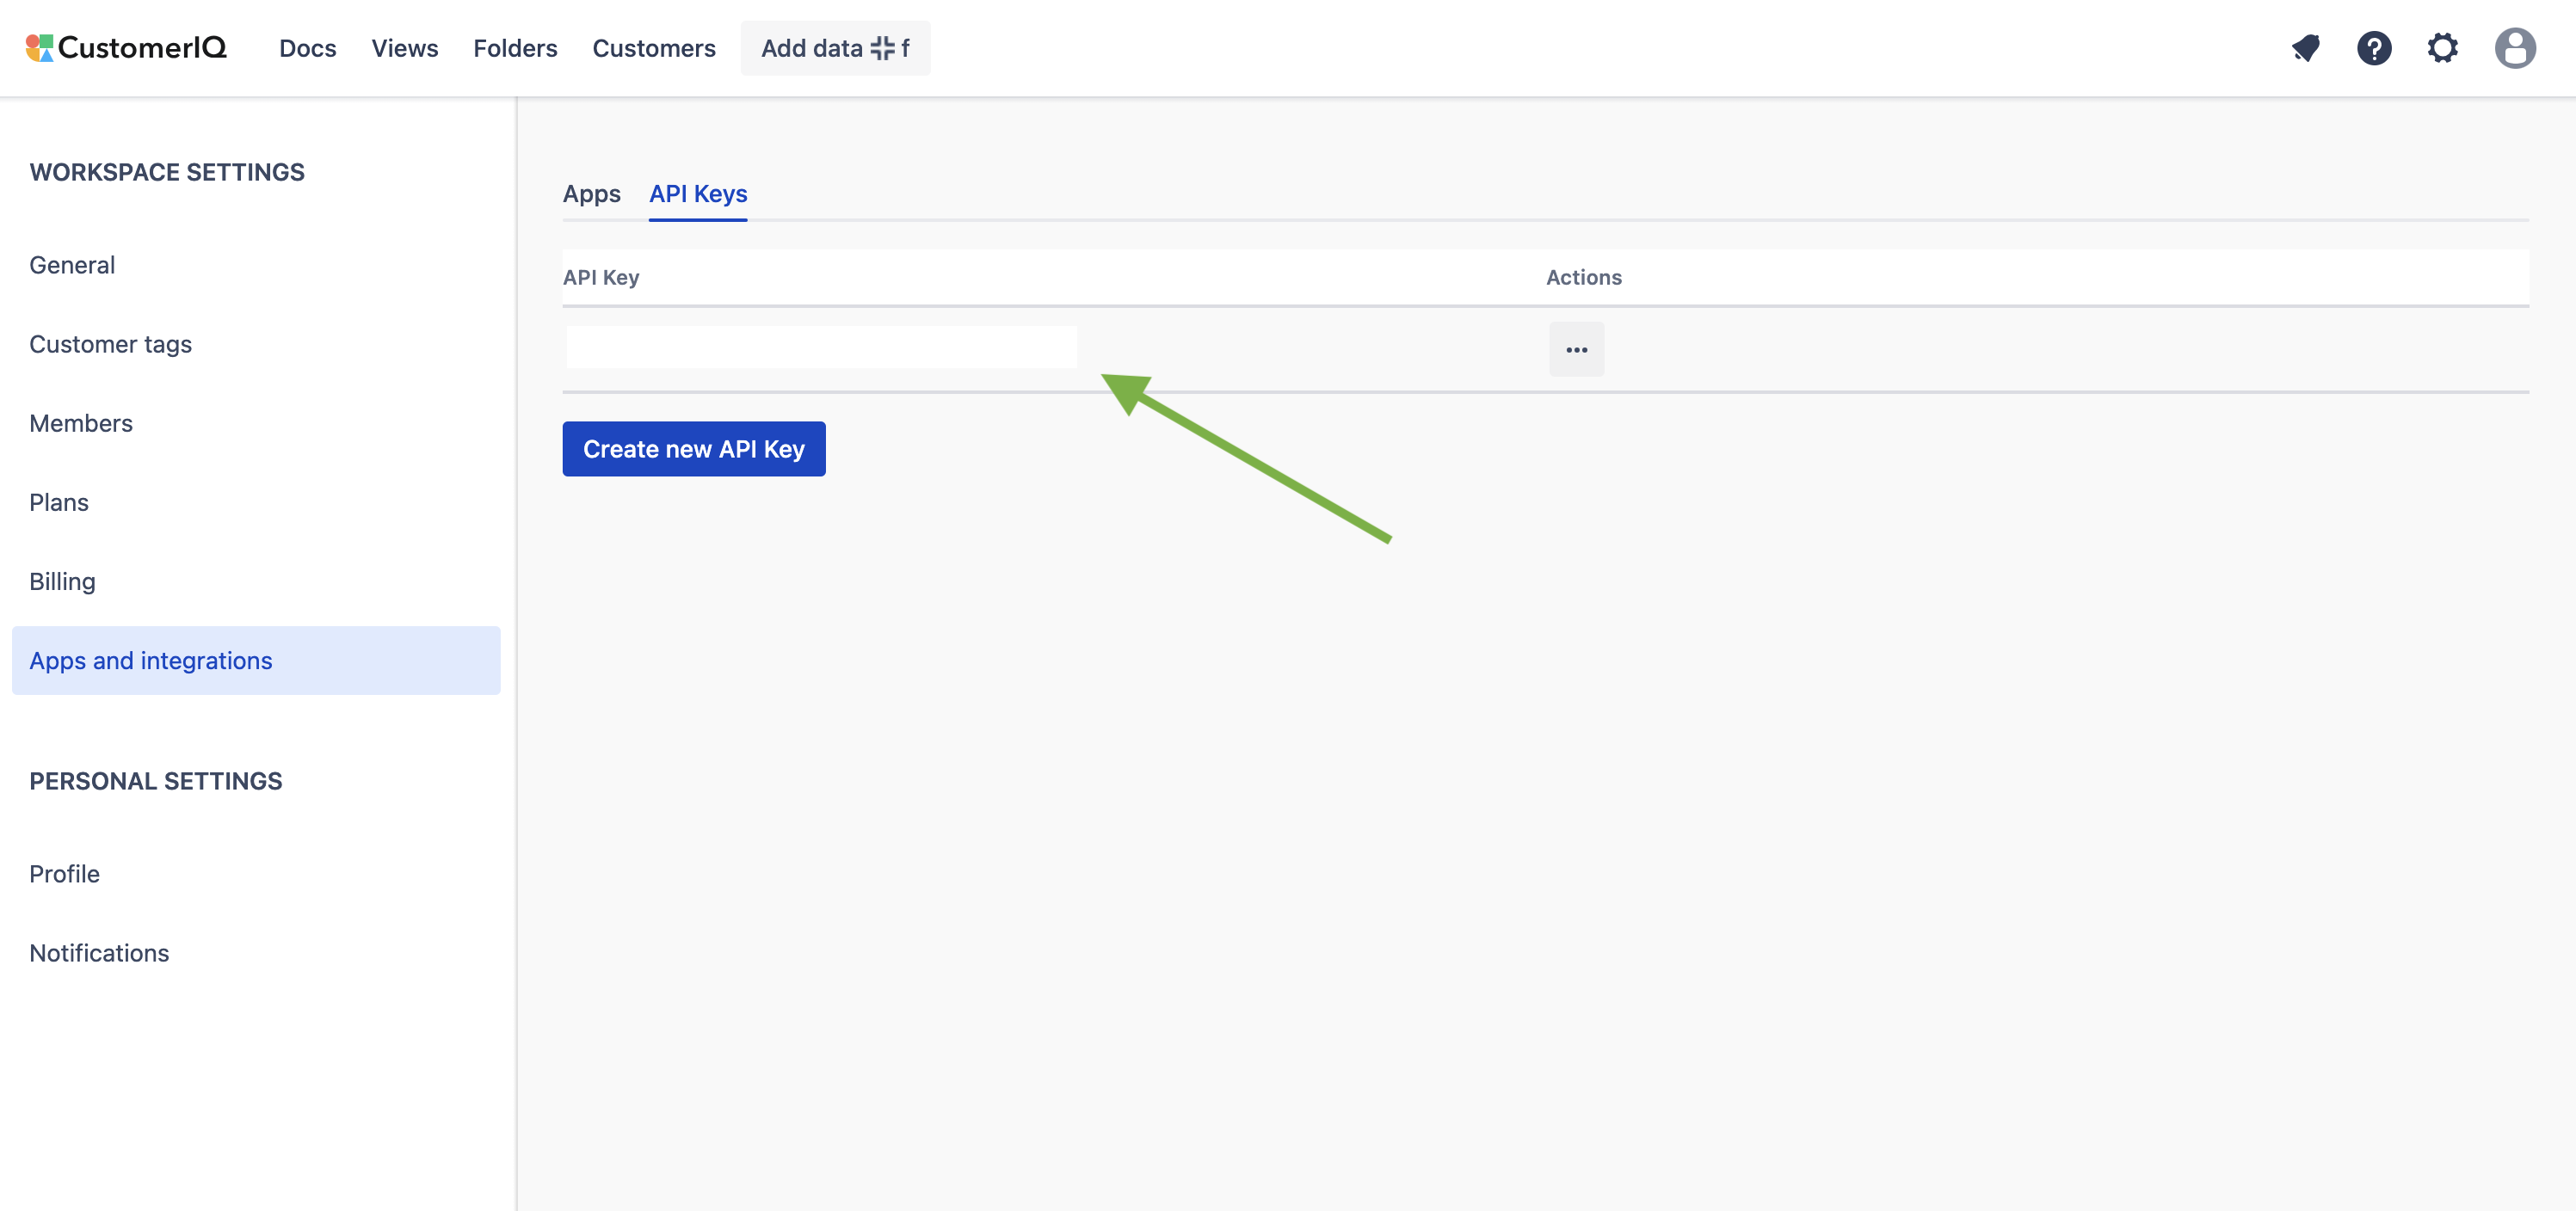
Go to the [Apps and Integrations page](https://app.getcustomeriq.com/settings/integrations) of your workspace settings.
Select the API Keys tab
Create an API key and copy it to your clipboard.
Go back to Zapier to authenticate your CustomerIQ account
### Step 6: Authenticate your app and map fields
**Note**: Make sure you've created the folder in CustomerIQ you want to send submissions to
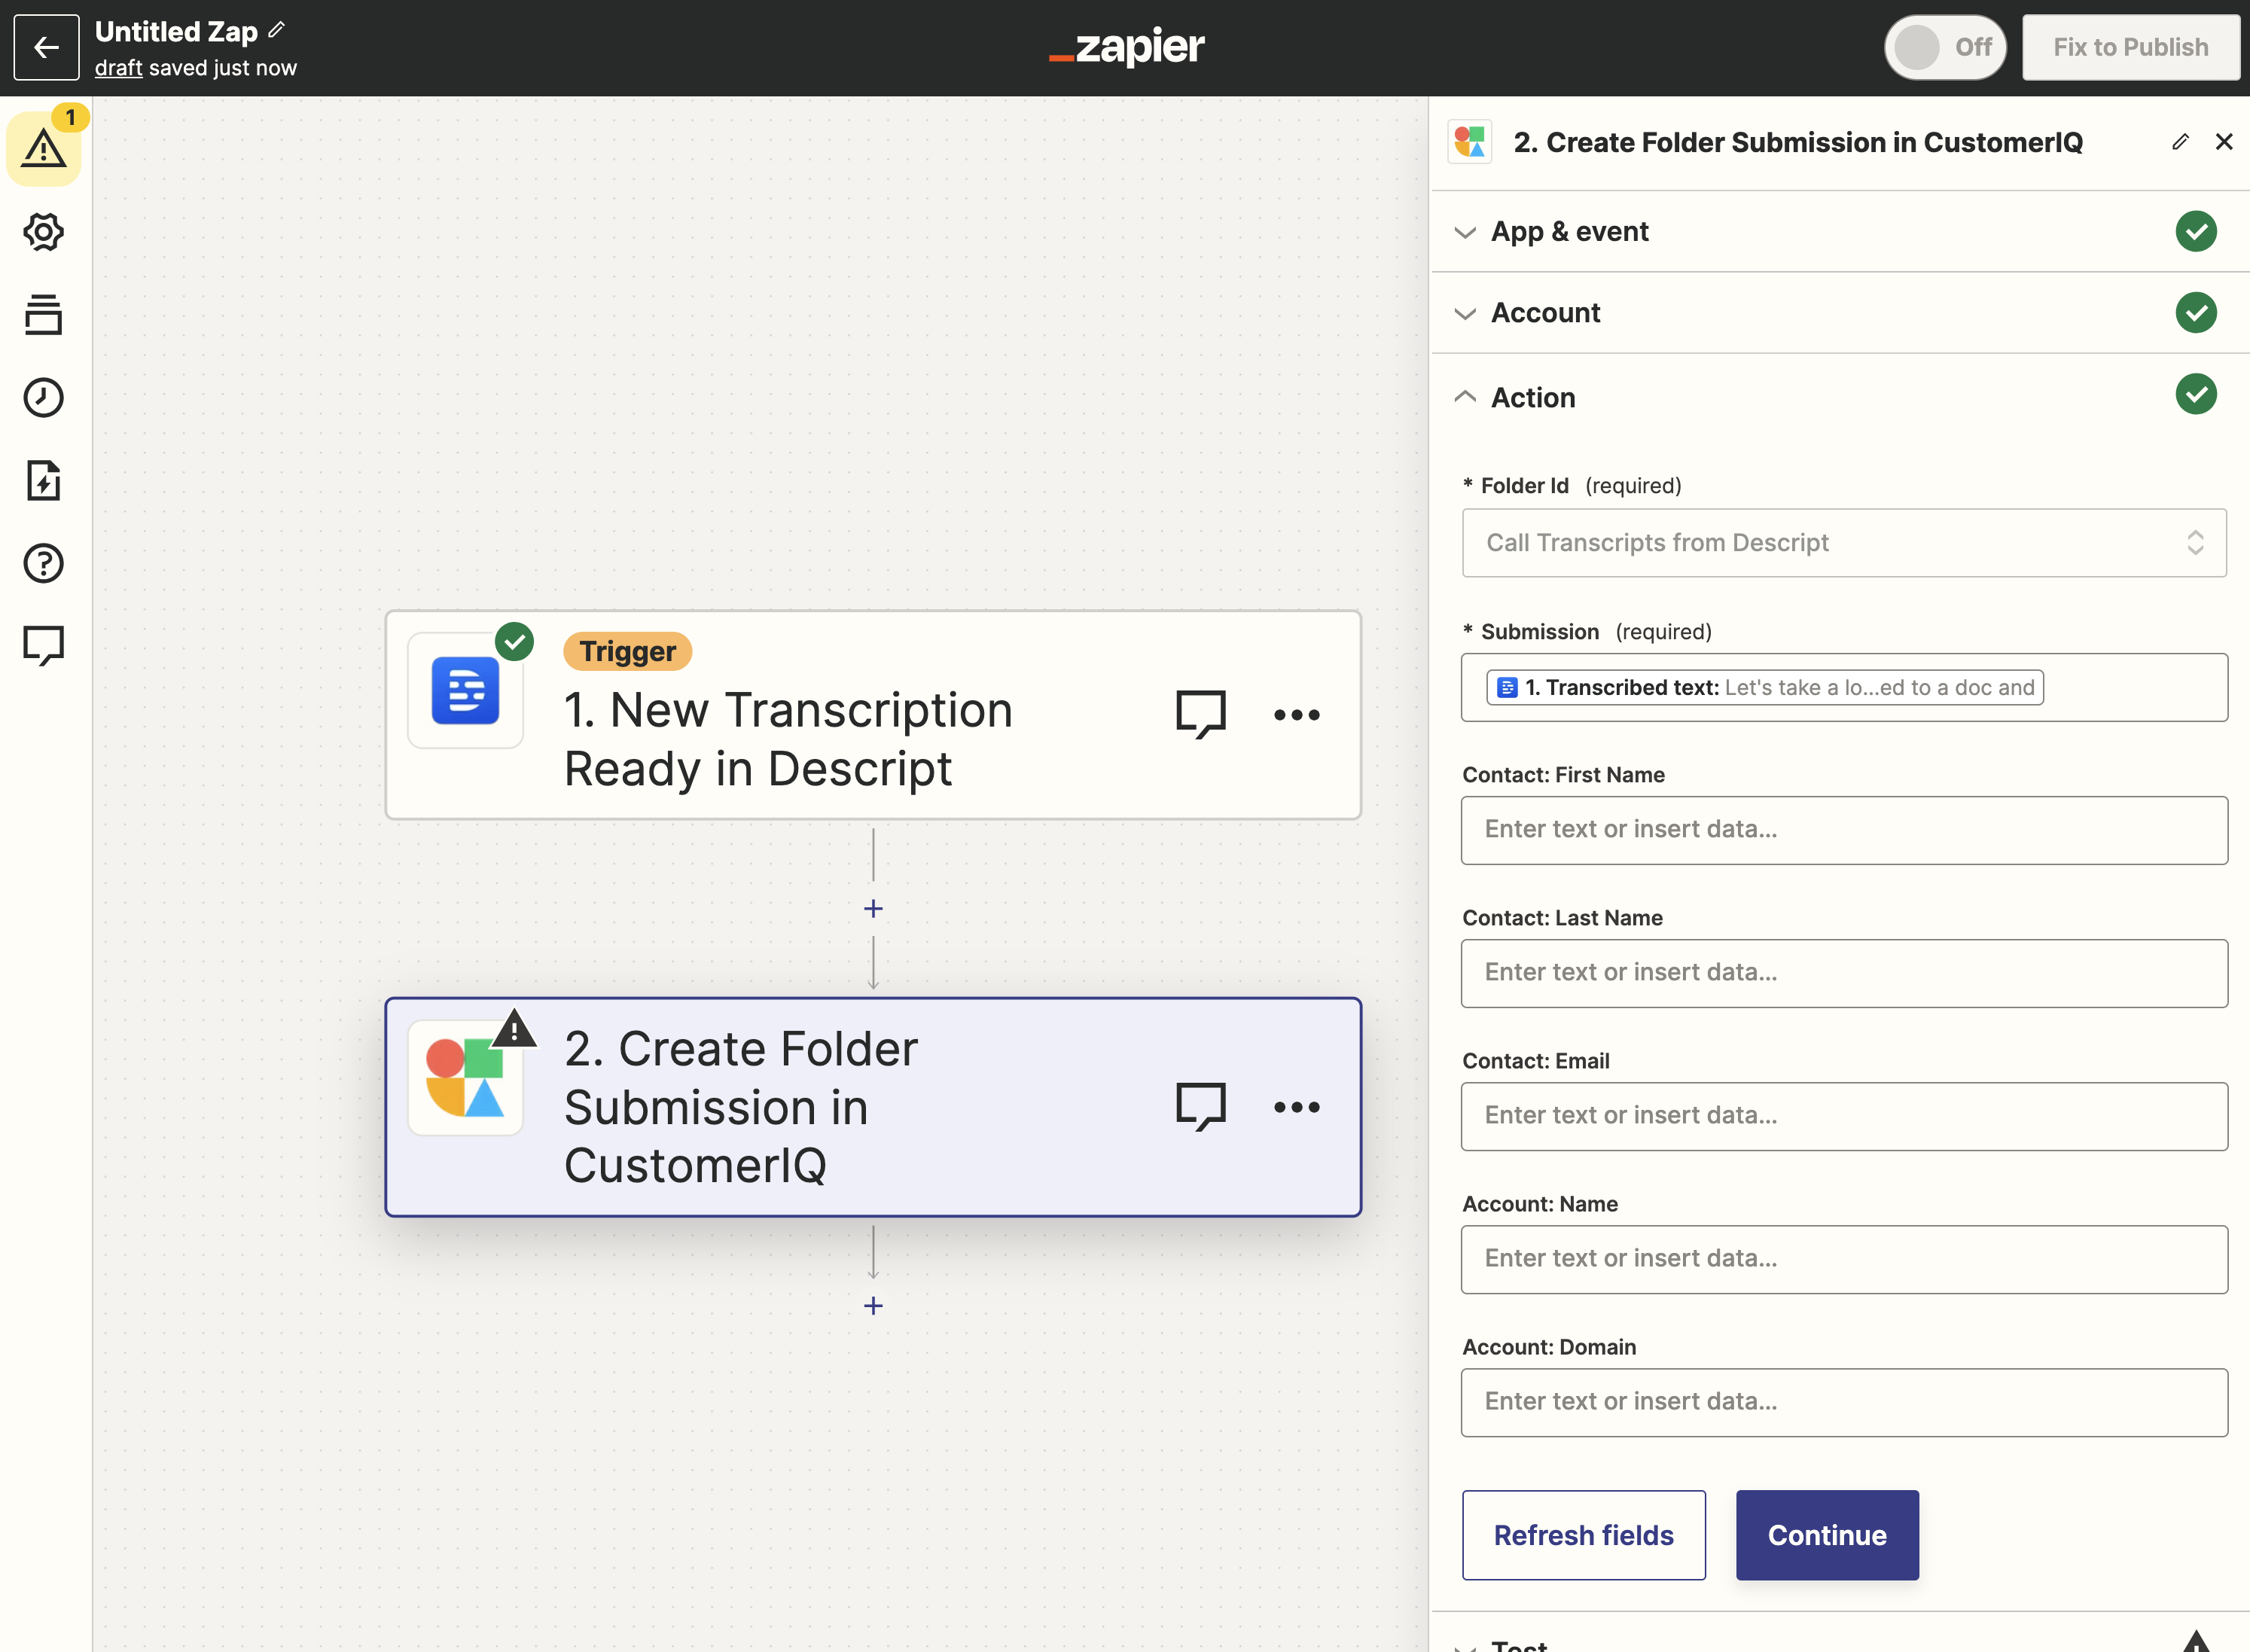
1. In Zapier, Select the Folder to send submissions to in Zapier
2. Map the text from your application to the submission field of the folder. This is the text CustomerIQ will analyze
3. Test your integration. Refresh your CustomerIQ window, you should see the submission in the folder.
4. Give your Zap a name and click Publish!
Now data will automatically send from your application to the mapped CustomerIQ folder
### (Optional) Step 7: Transfer historical data
Some integrations support Zapier transfers, which lets you zap historical records into your selected folders. We recommend using this feature where possible to get a jumpstart on your analysis in CustomerIQ